The previous years there was only one version of Kinect, the one bundled with X-Box 360. However, nowadays Microsoft releases another version for PC users which includes the license for general commercial use. Apart from this, Microsoft claims that there are hardware differences too, such as “near mode” (enables the depth camera to see objects as close as
40 centimeters in front of the sensor while maintaining accuracy and precision), skeletal tracking control, API improvements, and improved USB support across a range of Windows computers and Windows-specific 10’ acoustic models. Eventually, Kinect for Windows offers the
same skeletal tracking quality and recognition as Kinect for Xbox 360 and its price is tagged
$100 higher than the XBox's version.
Plug and Play doesn't work!
The first time you connect the Kinect device to your PC, Windows 7 will automatically search for the drivers and particularly for the
Xbox NUI Motor hardware. Even though Windows 7 usually do detect the appropriate software, this is not the case for Kinect.
STEP 1: Install SDK v1.6 or newer
Although Microsoft do not recommend the use of Kinect for Xbox 360 in the development of Kinect for Windows applications, its SDK also seems to work fine with Kinect for XBox.
So, instead of installing
OpenNI, PrimeSense, NINE or
OpenKinect, I strongly recommend you to try first the
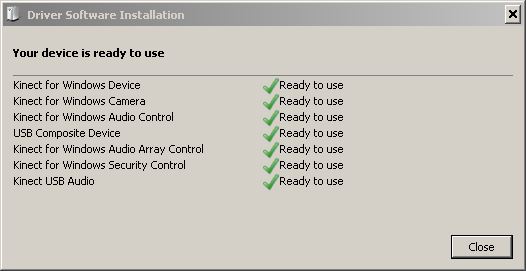
Kinect's Windows SDK v1.6. Once the SDK has completed installing successfully, ensure the Kinect sensor is plugged into an external power source and then plug the Kinect sensor into the PC's USB port. The drivers will load automatically.
STEP 2: Install Developer Toolkit v1.6 or newer
Secondly, you have to install the
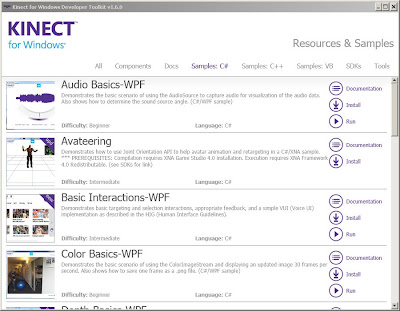
Windows Developer Toolkit v1.6. To view the tools or samples, install stamples, or explore other resources, start the Developer Toolkit Browser via the start menu:
Kinect for Windows SDK 1.6 ->
Developer Toolkit Browser v1.6 (Kinect for Windows).


